3 Easy science experiments to try at home
September 9, 2022
Having fun with STEM doesn’t need to be complicated.
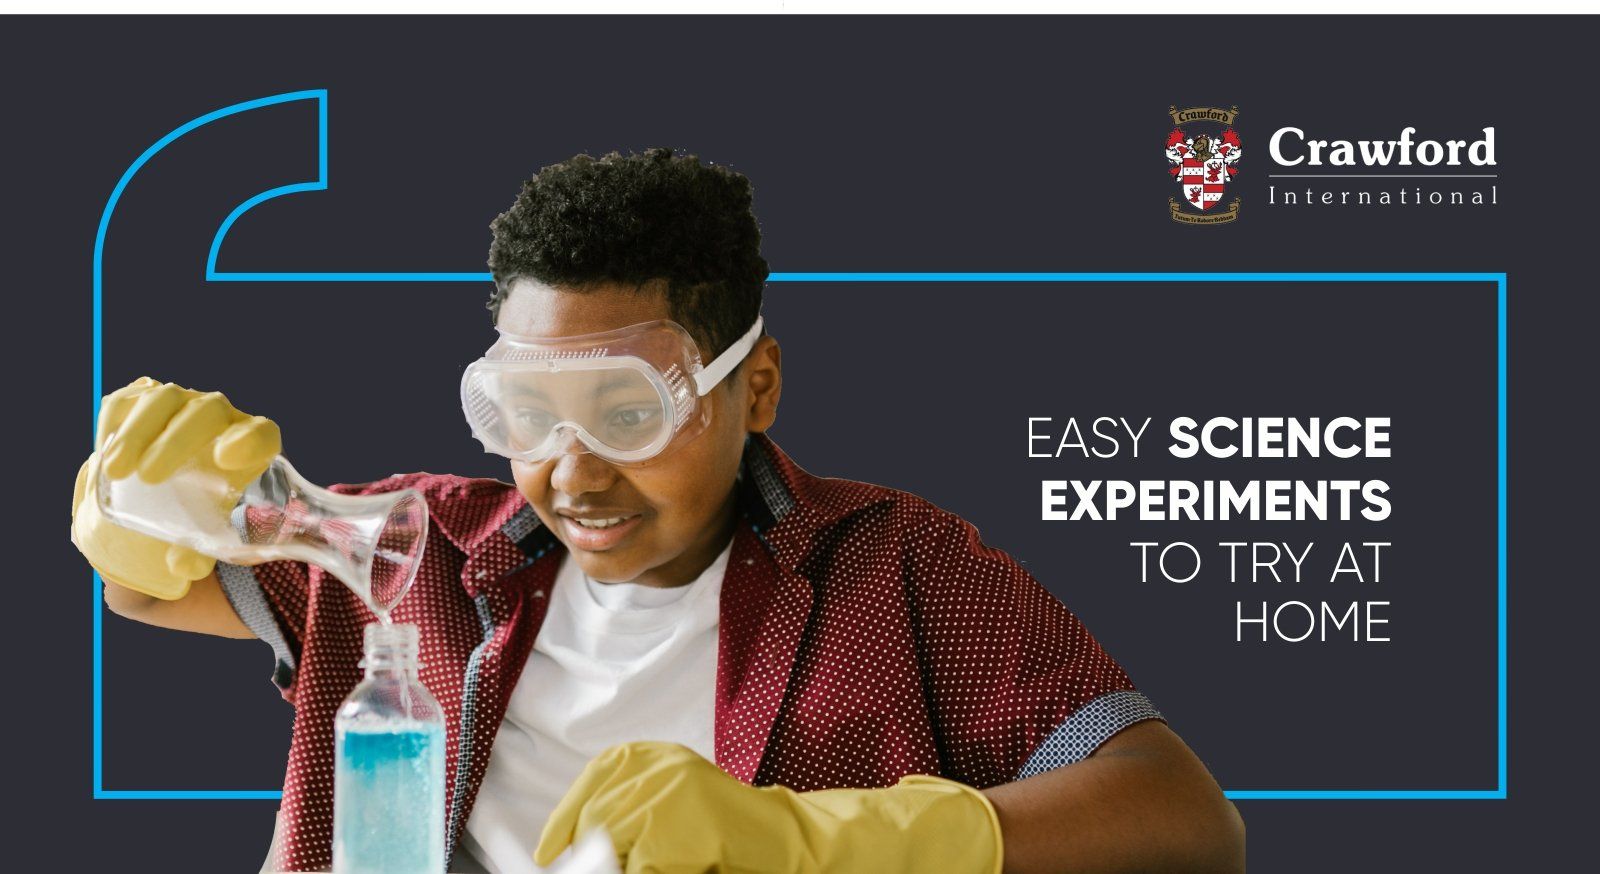
Science, or the “catch-all” term we now use, STEM, is all about discovering how our world works, which means that science – and the chance to experiment with it – is all around us. So, helping your child delve into the world of STEM doesn’t mean you have to invest in any specific toys or kits. You can find what you need for fun and educational experiments lying around at home. Read on and try some for yourself.
Safety note: remember safety first! Always. Always wear gloves, aprons and goggles if any hazardous materials are being used, and always chat to your children about the possible dangers of trying things without an adult present.
1. Make water walk
What you need:
- 5 to 10 small, glasses or plastic cups
- Food colouring in various colours
- 5 to 10 paper towels
- Water
How to do it:
- Place your cups in a row with a 2cm space between each and fill each cup ¾ up with water
- Place 5 drops of food colouring in each cup of water – each cup gets a different colour
- Fold each paper towel in half lengthwise, and then fold each in lengthwise again – you want a narrow piece of paper towel that will fit into the cups. Trim the lengths of the paper towel if needed
- Now place one half of a folded piece of paper towel in the first cup, and the second half in the second cup
- Repeat this with each cup, so that you have a trail of paper towel from one cup to the next
- Watch as the coloured water crawls up each paper towel, and continues to move into the next cup, colouring the water in it too.
The science explained:
The water moves up through the fibres and gaps in the paper towel in a process that’s called ‘Capillary Action’. This is essentially how water and nutrients travel from a plants roots through to its stems and leaves – the water travels up the capillary tubes (which are the gaps in the paper towels fibres) against gravity, because of the forces between the water and the fibres that are interacting with each other.
2. What’s on my teeth?
What you need:
- 4 Eggs
- 4 Glasses or plastic cups
- Carbonated cooldrink, preferably dark in colour
- Vinegar
- Toothpaste
- Marker and sticky notes
How to do it:
- Fill two glasses halfway with the fizzy cooldrink, and label one as Cooldrink 1 and the other as Cooldrink 2 using the sticky notes
- Fill the other two glasses halfway with the vinegar or lemon juice and label them Vinegar 1 and Vinegar 2 accordingly
- Rub toothpaste over two of the eggs – you want to be sure that they are covered all over with quite a thick layer
- Place one toothpaste-covered egg in the cup labelled Cooldrink 1 and place the other toothpaste-covered egg in the cup labelled Vinegar 1
- Next place the remaining two eggs, that are not covered with toothpaste, in the cup labelled Cooldrink 2 and Vinegar 2 respectively
- Leave the eggs in the cups in a safe place for anything from 12 hours to 1 week
- Remove the eggs from each cup, rinse them and pat them dry with a towel or kitchen towel (make sure you keep track of what cup each eggs came from so that you can compare the results)
- Ask your child if they notice any differences in the colours of the eggs, then get them to feel them and tell you if there are any differences.
- The egg that was covered in toothpaste and placed in the Cooldrink 1 cup should look much like it did at the beginning, while the egg with no toothpaste, placed in the Cooldrink 2 cup will be discoloured
- Similarly, the egg that was covered in toothpaste and placed in the Vinegar 1 cup will feel much like it did at the beginning, but the egg with no toothpaste placed in the Vinegar 2 cup will be soft to the touch.
The science explained:
By placing the eggs in different liquids, you are exploring the reactions of acids and bases when they come into contact with one another. Plus, this experiment is a great way to convince your child to brush their teeth! The eggshells represent the enamel on your child’s teeth. When they came into contact with the cooldrink, they were stained – much like our teeth can get stained by food and drink. The vinegar broke the eggshell down, which shows how our teeth can form cavities if not cared for. But, the eggs covered in toothpaste didn’t get stained or worn down, showing that brushing our teeth helps protect them and keep them strong.
3. What is amplification?
What you need:
- An empty toilet roll inner
- 2 paper cups
- Scissors and a craft knife
- Pencil
How to do it:
- Trace the shape of the bottom of your phone on the toilet roll
- Cut this out using the craft knife – this slot will form the base that holds your phone in this DIY amplifier
- Now trace the end of the toilet roll on the side of a paper cup and repeat for the second paper cup
- Cut these shapes out of the paper cups – these are going to be the ‘speakers’
- Attach a paper cup to each end of the toilet roll
- You can decorate your amplifier with washi tape, paint it, or even cover it in glitter
- Put your favourite song on and place the phone into the slot you’ve made for it, then listen to how it changes the sound.
The science explained:
This one is all about sound waves, showing you how sound travels through air, water or another medium to reach our ears, and how directing those waves in certain ways affects how we hear them. When you listen to music on your phone without the amplifier, the sound waves travel all around you in the air – they are spread out around the room. When you put the phone into the DIY amplifier, the sound waves are directed through the toilet roll tube and out of the paper cup speakers. Because the sound has been directed and focused, you hear it louder (and it’s not as tinny).
Read more Crawford International blog articles here.